Starvard University · DIY Home Repair
Most home repairs are simpler than the pros want you to believe, and the labor is usually the expensive part. This course teaches the fixes that save thousands: painting, drywall, plumbing basics, and safe electrical.

The whole course in brief
Twelve lessons in ten points. The rest is elbow grease.
The twelve lessons
Lesson 1
Every DIY lesson in this course starts with the same rule: protect yourself first. Electricity: turn off the breaker and verify with a non-contact tester before touching anything. Plumbing: know where your main water shutoff is before you loosen a single fitting. Ladders, dust, and chemicals all get respect too.
Gear up for every job: safety glasses, work gloves, and a dust mask at minimum. They cost almost nothing and they live in your toolbox. The pros wear them because they have seen what happens without them. Borrow their wisdom for free.
If a job ever feels unsafe, stop. That feeling is data. There is no shame in calling a professional for the part that scares you and doing the rest yourself. A half-DIY job still saves half the money.
Lesson 2
Painting is the highest-return DIY project in existence. A few gallons and a weekend completely transform a room for under $100, a job that costs $500 to $1,000 hired out. If you only ever DIY one thing, make it this.
Prep is the whole job. Clean the walls, fill holes with spackle, sand smooth, tape the trim, and lay drop cloths. The actual rolling takes an hour; the prep takes three. Skipping prep is why amateur paint jobs look amateur. Two thin coats beat one thick coat every time.
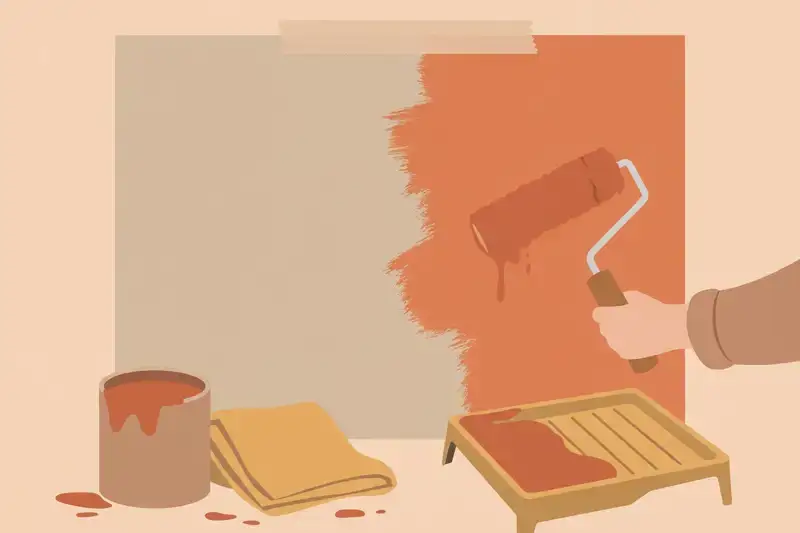
Buy decent paint and decent brushes. Cheap paint needs three coats (costing more in the end), and cheap brushes shed bristles into your finish. A good roller cover, a quality angled brush for cutting in, and mid-tier paint are the whole investment.
Lesson 3
Walls get holes: doorknobs, moving furniture, life. Small holes (nail-sized) just need spackle, a putty knife, a quick sand, and touch-up paint. Five minutes of work, invisible when done.
Medium holes (fist-sized) need a patch kit: an adhesive mesh or metal patch, joint compound layered thin, sanded between coats. The secret is thin layers. Three thin coats sanded smooth disappear; one thick coat cracks and shows. Patience is the entire technique.
Big holes need a cut-to-fit drywall piece screwed to a backing board, taped seams, and compound feathered wide. It sounds advanced, but it is the same thin-layer patience at a bigger scale. Match the paint and nobody will ever know.
Lesson 4
Caulk is the cheapest transformation in home repair. A $10 tube seals the gaps around tubs, sinks, windows, and baseboards, stopping water damage, drafts, and the grimy look of cracked old sealant. Old caulk peels out with a utility knife and some patience.
The technique: cut the tube tip small, run a steady bead, then smooth it with a wet finger in one pass. Painter's tape on both sides of the line gives you razor edges; pull the tape while the caulk is still wet. It takes one practice run to get the feel.
Use the right caulk for the job: silicone for wet areas (tubs, sinks), paintable latex for trim and baseboards, exterior-grade for outside. The wrong caulk fails in a year. The right caulk lasts a decade.
Lesson 5
You do not need a workshop. A basic kit handles the vast majority of home repairs: a cordless drill/driver, a hammer, a set of screwdrivers, an adjustable wrench, pliers, a tape measure, a level, a utility knife, and a stud finder. Add safety glasses, gloves, and a headlamp.
Buy decent mid-range tools, not the cheapest set and not the pro brand. Cheap tools break and injure; pro tools are wasted on weekend use. The sweet spot is the homeowner-grade line from any major brand. Buy tools as jobs demand them, not before.
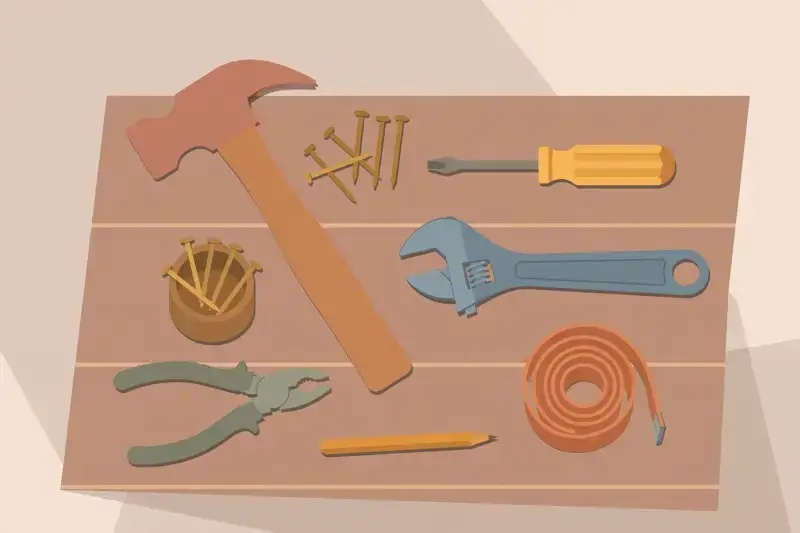
Organize from day one. A tool bag or small box where everything lives means you actually use your tools instead of dreading the hunt. Every tool gets a home. Future you, mid-repair, says thank you.
Lesson 6
Clogs are the most common plumbing call and the easiest to beat. Start with a plunger: the flange-style plunger for toilets, the cup-style for sinks and tubs. Seal the overflow drain, get a good seal, and plunge with steady force for 20 seconds. Most clogs surrender here.
Next step: a drain snake (hand auger), $25 at any hardware store. Feed it in, crank, pull back the clog. For bathroom sinks, pop the stopper and pull out the hairball by hand first; it is gross and it fixes the problem half the time.
Skip the chemical drain cleaners. They rarely work on real clogs, they damage pipes over time, and they turn a simple mechanical fix into a chemical hazard for whoever works on the drain next. Mechanical beats chemical, every time.
Lesson 7
A running toilet can waste 200 gallons a day, which shows up on your water bill fast. The good news: the inside of a toilet tank is one of the simplest machines in your house. Lift the lid and look. There are only a few parts, and they are all cheap.
Ninety percent of running toilets are a worn flapper (the rubber seal at the bottom) or a misadjusted fill valve. The flapper costs about $5 and swaps in minutes with no tools. The fill valve is about $15 and takes 20 minutes with an adjustable wrench. Both come with picture instructions.
Diagnose with the food coloring test: drop dye in the tank, wait 15 minutes without flushing. Color in the bowl means the flapper leaks. No color but the tank keeps refilling means the fill valve. Ten minutes of diagnosis saves a blind parts swap.
Lesson 8
A faucet dripping once per second wastes over 3,000 gallons a year. The fix is almost always a worn washer, O-ring, or cartridge inside the handle, a $10 part and a 20-minute job. Turn off the water under the sink first (lesson one, always).
Disassemble in order and lay the parts out in a row, or take a photo at each step. Faucets are puzzles with few pieces, but the order matters. Take the old cartridge or washer to the hardware store to match it exactly; there are more types than you would guess.
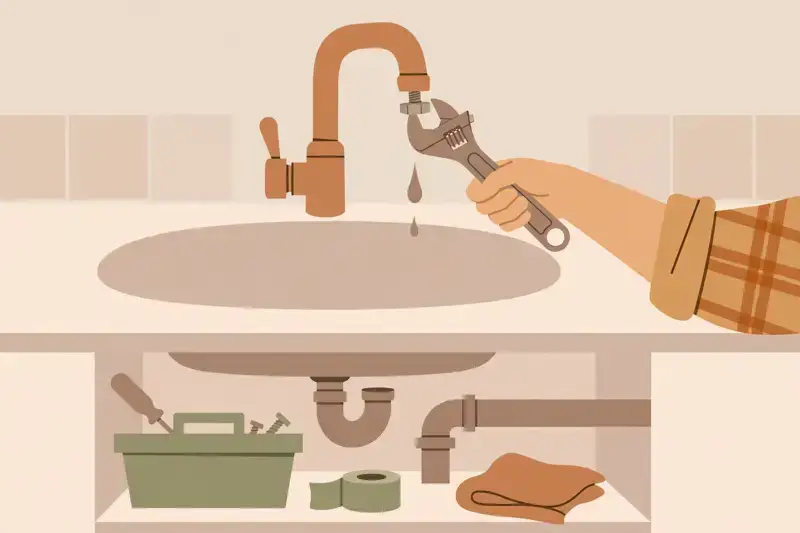
While you are in there, clean the aerator (the little screen at the spout tip). Unscrew it, rinse out the grit, screw it back. Low flow is often just a clogged aerator, and cleaning it takes two minutes.
Lesson 9
Electricity deserves respect, and with the right precautions, basic electrical work is safely DIY-able. The rule is absolute: turn off the breaker, then verify dead with a non-contact voltage tester before touching anything. Test the tester on a known live outlet first.
Safe DIY territory: replacing outlets and light switches (one wire at a time, photo before you start), swapping light fixtures, installing a ceiling fan rated box, and replacing a thermostat. These are all wire-for-wire swaps, no new circuits, no panel work.
The line you do not cross: the breaker panel interior, new circuits, aluminum wiring repairs, anything involving the main service line, and any work you are not confident about. Electricians exist for a reason, and a $200 service call is infinitely cheaper than a fire.
Lesson 10
DIY has boundaries, and knowing them is part of the skill. Always call a pro for: gas lines (explosion risk, often illegal to DIY), structural changes (load-bearing walls, foundation), major electrical (panel work, new circuits), roofing (fall risk plus warranty issues), and anything involving permits you do not understand.
Get three quotes for pro work, in writing, with the scope spelled out. Ask what could go wrong and what it would cost. The cheapest quote is not always the best; the clearest scope usually is. Check licenses and insurance before anyone starts.
You can still save money on pro jobs: do the demo yourself, handle the painting after, clear the work area. Pros charge by the hour; every hour of prep you do is an hour you do not pay for.
Lesson 11
The cordless drill is the most-used tool in the house. Hanging curtains, mounting shelves, assembling furniture, driving screws: it does all of it. Learn the clutch settings (low numbers for small screws, higher for big ones) so you stop stripping screw heads.
For anything heavy, find the stud. A $20 stud finder, or the knock-and-listen method, locates the framing behind the drywall. Screws into studs hold hundreds of pounds. Drywall anchors handle the medium stuff. Never hang anything heavy on drywall alone.
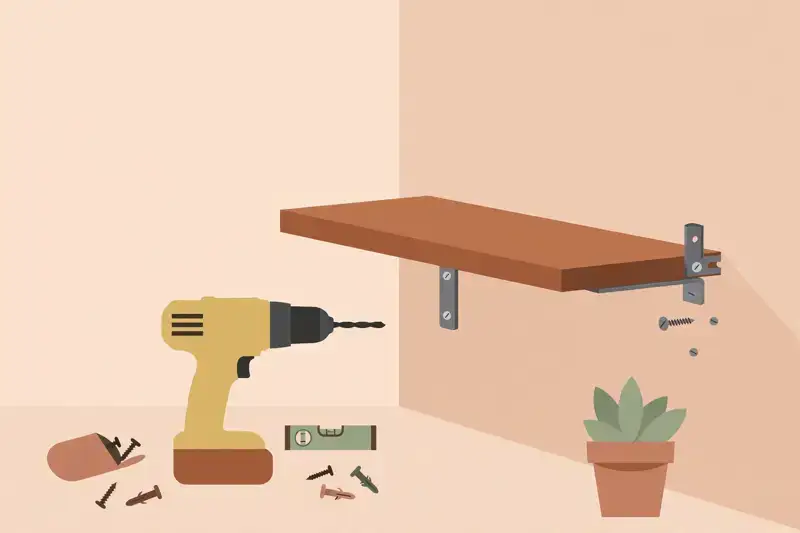
Pre-drill pilot holes in wood to prevent splitting, especially near edges. It takes ten seconds and saves the piece. And keep drill bits sharp and organized; a dull bit is how holes go crooked and tempers go short.
Lesson 12
Start with one project a month. January: caulk the tub. February: patch the drywall dents. March: fix the running toilet. Small wins build skill and confidence faster than one giant renovation. Each project teaches tools and techniques the next one reuses.
Keep a home journal: what you fixed, what parts you used, what you would do differently. Note paint colors, filter sizes, and shutoff locations. This journal becomes the most valuable document in your house, worth more than any manual.
Track your savings. A plumber's visit is $150 minimum; you just did it for $12 in parts. Watching the running total climb is the motivation that keeps the toolbox open. Most DIYers save thousands in year one alone.
Graduation
You now know the repairs that save the most money: painting, drywall, caulk, clogs, toilets, faucets, safe electrical swaps, and when to call for backup. The house is not a mystery anymore. It is a to-do list, and you have the tools.
Keep learning
This course is part of Starvard University, striving for greatness.