Starvard University · Drawing 101
Drawing is not talent, it is seeing. Twelve lessons that teach your eyes first and your hand second, starting today with a pencil.

The whole course in brief
The twelve lessons
Lesson 1
Here is the truth that surprises every beginner: your hand already knows how to draw. It can already make any line you ask of it. What cannot yet do the job is your eye. Learning to draw is learning to see: really see the angles, the proportions, the light, instead of the lazy shorthand your brain prefers.
Proof: draw a chair from memory right now. Then look at a real chair and draw it again. The second drawing will be dramatically better, not because your hand improved in five minutes, but because your eye finally had real information. Observation is the entire skill; the pencil is just the reporter.
So the practice is looking. Spend more time staring at your subject than at your paper. The classic ratio is 70% looking, 30% drawing. It feels wrong at first. It is right.
Lesson 2
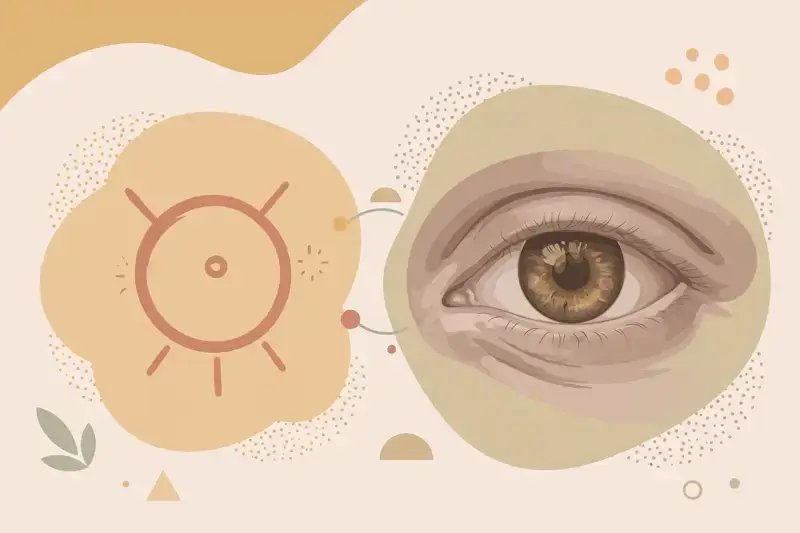
Your brain stores symbols, not sights: an eye is an almond with a circle, a tree is a lollipop, a house is a square with a triangle. When you draw from your head, you draw these childish symbols, and the result looks childish. Real drawing means overriding the symbol with what is actually there.
Look at a real eye. It is not an almond. The lid folds, the corner dips, the iris is partially covered, the highlight sits off-center. Every one of those specifics is interesting, and none of them are in your symbol. The gap between the symbol and the sight is where all drawing skill lives.
Lesson 3
A coffee mug is a cylinder with a handle. A head is an egg. A car is boxes. Every complex object breaks down into simple 3D shapes, and drawing those shapes correctly is 80% of drawing the object. Beginners try to draw the thing; artists draw the shapes underneath the thing.
Practice: pick five objects around you and name their shapes out loud. Lamp: cone on a cylinder. Book: flat box. Apple: sphere, slightly squashed. This is not dumbing down; it is seeing structure. Structure first, details later.
Draw the shapes lightly as your foundation, then carve the real object out of them. The shapes keep your proportions honest while you add the specifics. Skip this step and the details float in wrong places.
Lesson 4
Press lightly. Beginners press hard from the first line, carving grooves into the paper, terrified of being wrong. But drawing is searching, and searching means tentative lines. Light lines can be adjusted, corrected, and built upon. Heavy lines are commitments you are not ready to make.
Hold the pencil further back, let your arm move instead of just your wrist, and make many light passes instead of one heavy one. The drawing emerges gradually, like a photo developing. Darken only the lines you are sure about, at the very end.
Erasing is not failure; it is drawing. Professionals erase constantly. Keep a kneaded eraser handy and use it as a drawing tool, lifting highlights out of shaded areas. The eraser draws light; the pencil draws dark.
Lesson 5
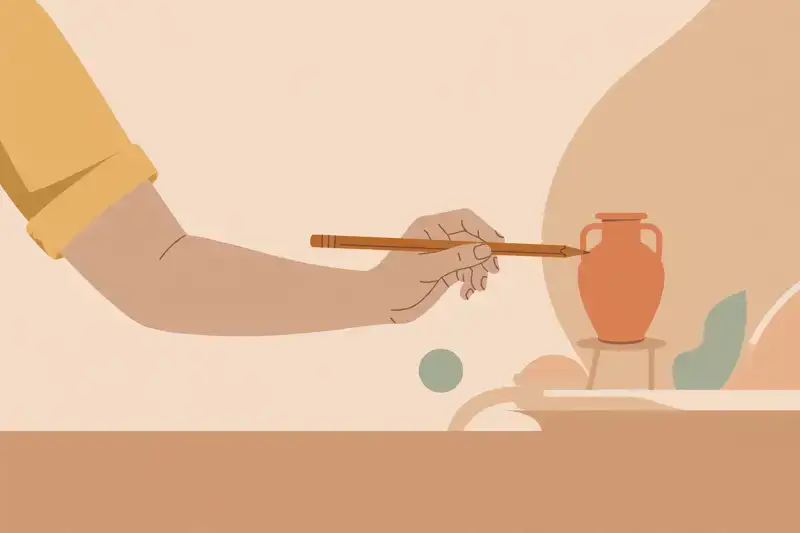
Bad proportions come from guessing. The fix is measuring: hold your pencil at arm's length, lock your elbow, and compare sizes. This apple is one and a half pencil-lengths tall. The bottle is twice as tall as the cup. These comparisons turn vague feelings into real ratios.
Measure angles too. Hold the pencil along an edge and see the angle it makes. Is that roofline steeper or shallower than you thought? Almost always steeper. Our brains flatten angles; the pencil tells the truth.
Lesson 6
Contour drawing means tracing the edges of your subject with your eyes, and letting your hand follow, slowly. Try it without looking at the paper at all: eyes locked on the subject, hand moving. The result will be wobbly and wonderful, full of true observation.
This exercise rewires the looking-drawing connection. It forces the 70/30 ratio to become 100/0, and your brain protests loudly. Do it for ten minutes and your normal drawing immediately improves, because your eyes just had a workout.
Slow contour also teaches you that edges are never as simple as you think. Follow one edge of a hand and you will find dips, bumps, and direction changes your symbol-brain never included. Those discoveries are the drawing.
Lesson 7
Line shows edges; shading shows form. And shading is simpler than it looks: every object has about five values, from the brightest highlight to the darkest shadow, with three steps between. Get those five right and flat circles become solid spheres.
Squint at your subject. Squinting removes detail and reveals the big value shapes: where is it light, where is it dark? Draw those shapes first, then fill them with the right darkness. Most beginners shade too timidly; push your darks darker. Contrast creates the illusion of light.
Shade with the side of the pencil in even layers, building up gradually. Cross-hatching, layers of lines in different directions, builds rich darks without the shine of heavy pressing. Patience beats pressure.
Lesson 8
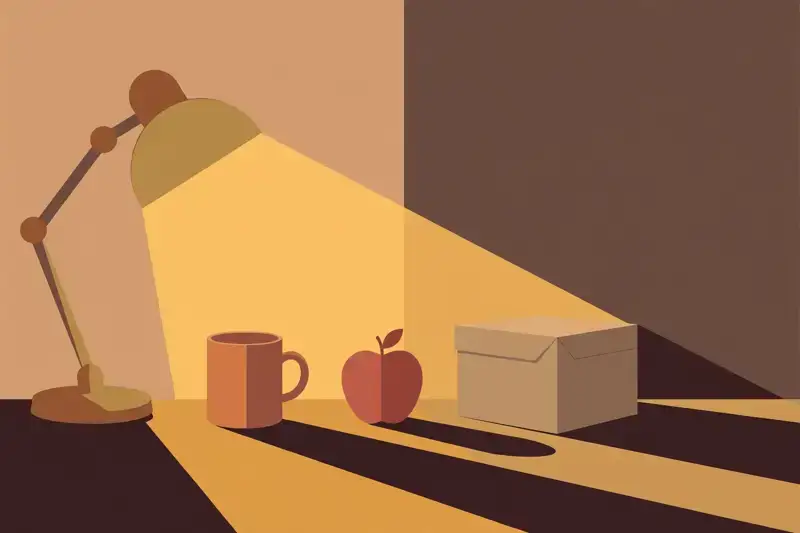
Time to put it together. Arrange three simple objects: a mug, an apple, a box. Light them from one side with a desk lamp. This is your studio. Draw the simple shapes first, measure proportions, sketch light, then add the five values.
Work big to small: whole arrangement, then each object, then details, then shading. Resist the urge to finish one object completely before starting the others; the drawing needs to grow evenly, like a garden, not one perfect flower in an empty bed.
Lesson 9
Faces terrify beginners because we are experts at spotting wrongness in them. But faces follow structure like everything else: the eyes sit halfway down the head (not near the top, as everyone draws), the nose ends halfway between eyes and chin, the mouth sits a third of the way down from nose to chin.
These proportions feel wrong because your symbol-brain insists the eyes are near the top. Measure a real face and the truth appears: the forehead is huge. Trust the measurement, not the feeling. Every portrait artist fought this same battle and won it with a pencil at arm's length.
Start with the big shapes: the egg of the skull, the jaw. Place features with light lines using the proportions above. Then observe the specifics that make this face this face: the asymmetry, the particular curve of a lip, the distance between the eyes. Likeness lives in specifics, not symbols.
Lesson 10
Copying great drawings is the oldest art education in the world, and it works. Pick a drawing you love and copy it carefully, trying to understand every decision: why this line weight, why that shadow shape, how did they simplify this complexity? You are downloading their seeing into your brain.
Copy from many masters, not one. Each teaches different lessons: one teaches line, another teaches shade, another teaches composition. Your style will emerge from the blend, seasoned with your own observations. Every artist you admire did exactly this.
Copying is study, not fraud, as long as you are honest about it. Label your copies, keep them in your sketchbook, and never present them as original. The learning is the point; the page is just evidence.
Lesson 11
Fifteen minutes a day beats a five-hour session once a month. Daily drawing keeps your eye sharp the way daily running keeps legs strong. Keep a small sketchbook with you always; the world is full of waiting rooms and coffee lines that are secretly drawing studios.
Draw anything: your hand, the person across from you, the weird building, your coffee cup. Bad drawings count fully. The sketchbook is a gym, not a gallery. Nobody needs to see it, which frees you to experiment, fail, and try again.
Lesson 12
Your assignment: one finished drawing. Pick a subject you care about, give yourself a week, and take it all the way: shapes, measurement, light sketch, values, details, and a confident final line. Sign and date it.
Finishing teaches what sketching cannot: commitment, patience, and the judgment of knowing when to stop. Most beginners stop too early, leaving drawings half-developed. Push past the ugly middle stage; every drawing looks bad before it looks good.
Then start the next one. Keep every finished piece, dated, in order. In a year, lay them out and watch your own progress unfold. That timeline is the real diploma, and you earned every page.
Graduation
You now see like an artist: observation over symbols, simple shapes under complexity, light lines before commitment, measurement over guessing, slow contour, five values for depth, fearless faces, masters as teachers, a daily sketchbook, and the discipline to finish. The pencil was never the hard part. Keep looking closely at the world; it will keep rewarding you.
Keep learning
This course is part of Starvard University, striving for greatness.